

I walk most mornings again with my friend, Linda. The hour walk goes by quickly as we share ideas, inspirations and tidbits of each other’s lives. Linda offers me lots of recipe and shopping tips and shortcuts and I cherish her sage advice. I find the walks healthy for my body and inspiring for my mind.
My kids think that the daily walks have nothing to do with exercise or friendship.
They often tell me that the early morning walks are really about scouring the neighborhood for cast-off furniture and other treasures to be recycled and upcycled.
They may just be right.
I had been thinking of designing a workbench for two-year old Ju-Ju. Two weeks ago, I came across the perfect solid wood nightstand on the curb while walking with Linda. The white nightstand was covered in dust and cobwebs, but was solidly constructed. The one drawer featured intact hardware and dovetail construction. It was perfect for my project.
I was delighted! After the walk, I drove back to where I had seen the nightstand and loaded into my car. I placed it right next to my front door and I just couldn’t wait to begin my newest project.

Leah arrived home that evening and wasn’t too happy to see another dusty, worn castoff adorning our front porch. She reminded me once again that my morning walks are really all about the hunt to find garbage.
I couldn’t have agreed more.
I cleaned the piece with a damp rag and turned it upside down. I cleaned all the nooks and corners of the nightstand until it was perfectly clean. I looked around until I found a square-ish piece of plywood that was the same width as the nightstand to use as a backsplash for the nightstand.
Using my inexpensive hand sander, I sanded the nightstand and the plywood down until all the surfaces were smooth, then sprayed the surfaces with blue spray paint. I removed the drawer and sprayed that with silver metallic spray paint.

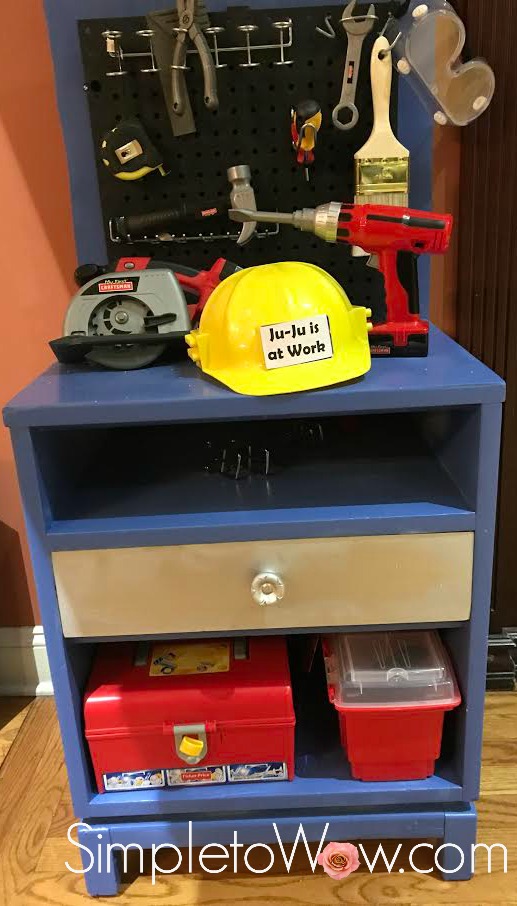
I then ordered a square 16″ plastic pegboard and assorted pegboard accessories. Don screwed the finished backsplash into the nightstand workbench and installed the pegboard. I added a few good hooks on the sides to hang additional workbench accessories.
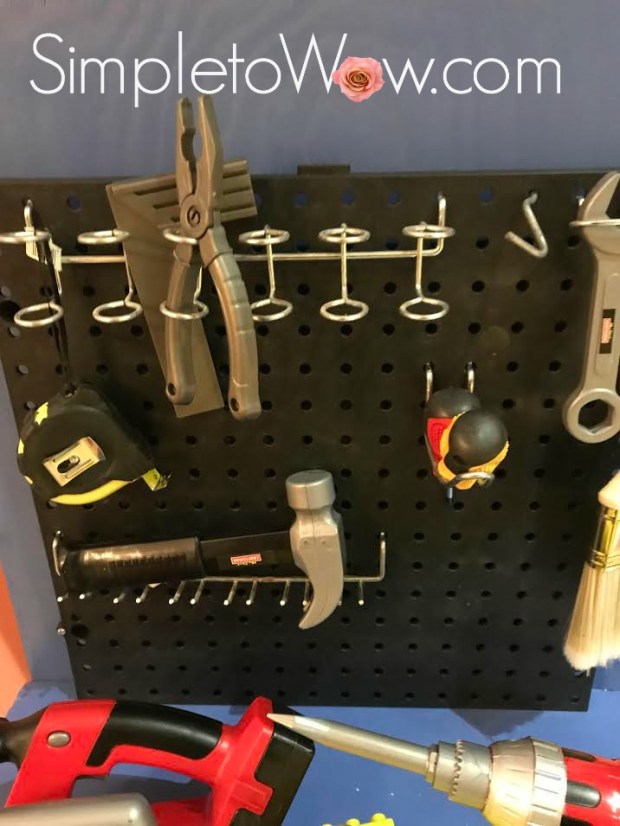
I checked the toy boxes and scoured the dollar store for some play tools, safe real tools and tool boxes. I ordered some kid-friendly power-tools and even personalized a hardhat for Ju-Ju.
Ju-Ju and Avigail loved the workbench and Leah even quizzed me on what I was thinking for the next upcycled project would be.
I just smiled mysteriously. Let the morning walks continue…

SUPPLIES and TOOLS
one solid-wood nightstand
1 square-ish piece of plywood the same width as the nightstand
INSTRUCTIONS
Using a damp rag, clean the nightstand. Make sure to clean all the nooks and crannies and insides and backs of the doors and drawers. Turn the unit over and clean the bottom and all sides.
Find or purchase a square-ish piece of wood that is the same width as the nightstand for a backsplash.
Using a hand sander, sand the nightstand and the wood down until all the surfaces are smooth, paying special attention to the corners and edges of the nightstand and backsplash.
Remove the drawer(s) and sand separately. Using a damp rag, wipe the entire unit clean and allow to dry.
Spray all surfaces of the nightstand and backsplash with blue spray paint. Spray the drawer with silver metallic spray paint.
Screw the backspash into the back of the nightstand and then screw the square 16″ plastic pegboard into the backsplash. For the pegboard, we used 1 1/4″ round screws with nuts screwed from the back to the front.
Adhere small adhesive hooks to the sides of he nightstand workbench to hang additional hardware accessories like measuring tape, goggles and helmet.
Place assorted pegboard accessories into the pegboard and hang toy tools and safe real tools. Fill small toolboxes with additional toy hardware and store in the workbench.
Get to work!
