Dips and Sauces

Basil Pesto Butter

basil butter flowers.png

Close to ten years ago, we shared a dairy lunch meal with our good friends, Neal and Marilyn, at their new home in Jerusalem.  They ordered food from Village Green, a well-known and delicious vegetarian restaurant on Jaffa Street right in the heart of Jerusalem.  They ordered a lavish assortment of salads, quiches, pastas and desserts.

It was a luncheon to remember.  The food was delicious, colorful and plentiful.  The camaraderie among the adults and the kids was remarkable.  But, there was one stand-out rockstar at that luncheon.

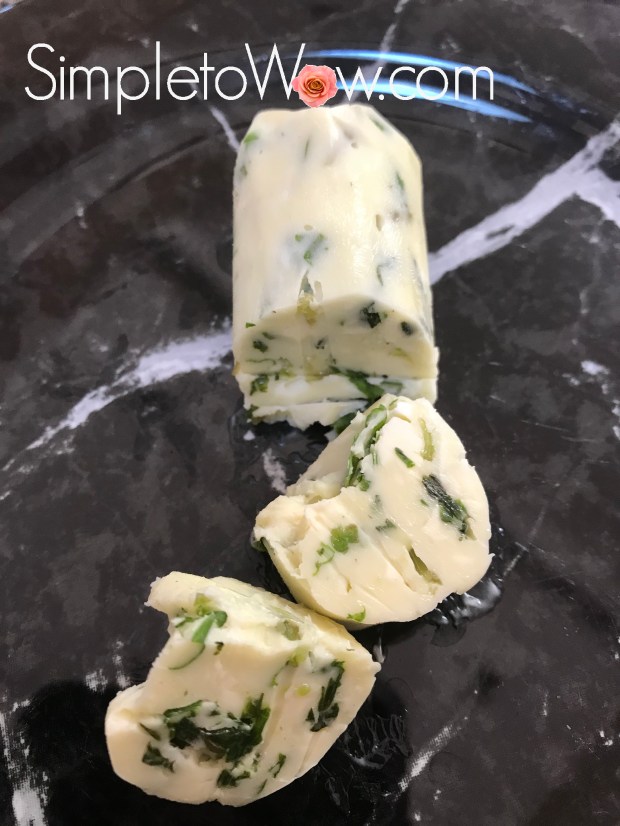
It was the herbed butter.

Village Green had packaged the food with small individual pats of herbed butter and those delicious flavorful butter treats transformed that afternoon.

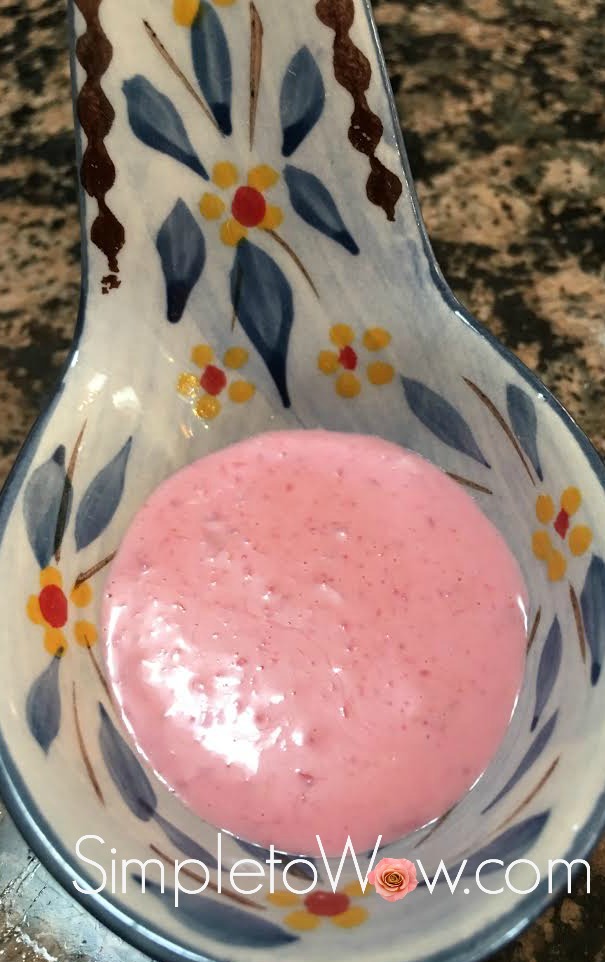
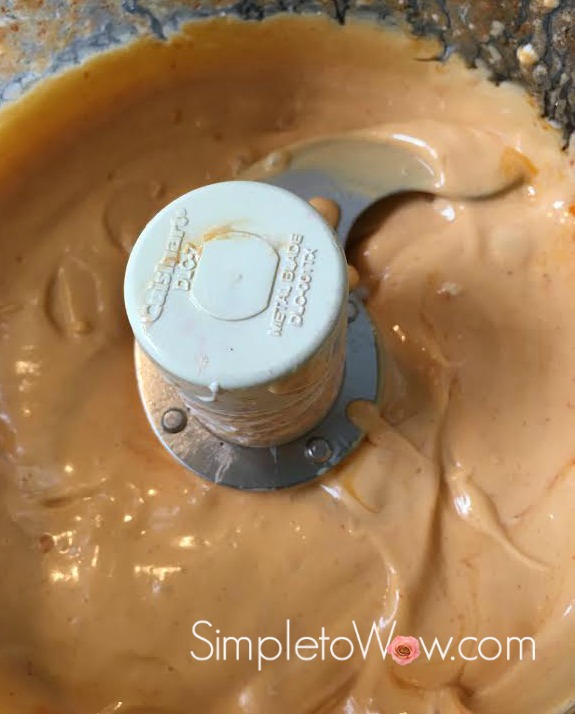
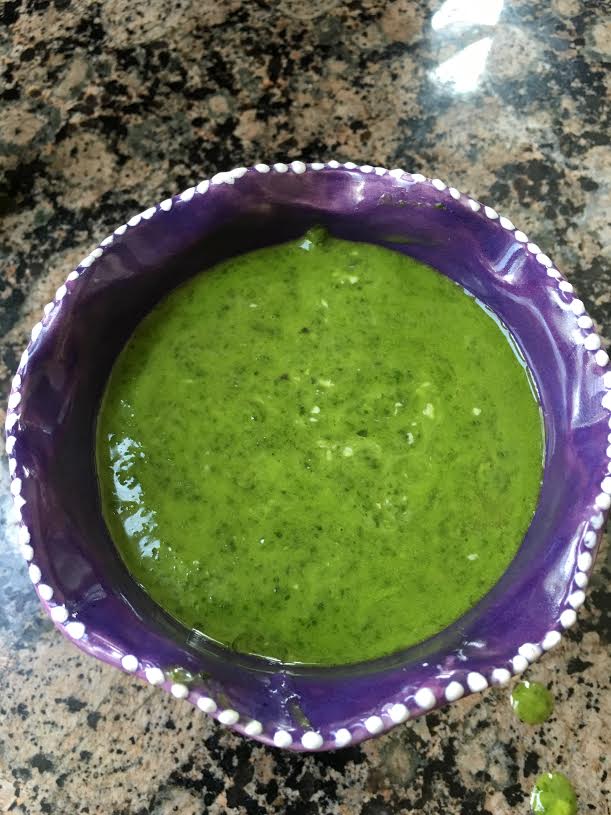
So, ten years later, I decided that it was time to recreate that buttery sensation.   I simply added basil to the food processor and pulsed it into a rough pesto.  I then added softened butter and processed it until it was well combined.

Best of all, when I served the butter, it transported us back instantly to that afternoon in the heart of Israel.  Hopefully, this simple upgrade to your dairy meal will create pleasant memories for you, too….


INGREDIENTS

1/2 cup fresh basil leaves, cleaned and pat dry (see kosher notes)
1 pound salted or unsalted butter


DIRECTIONS

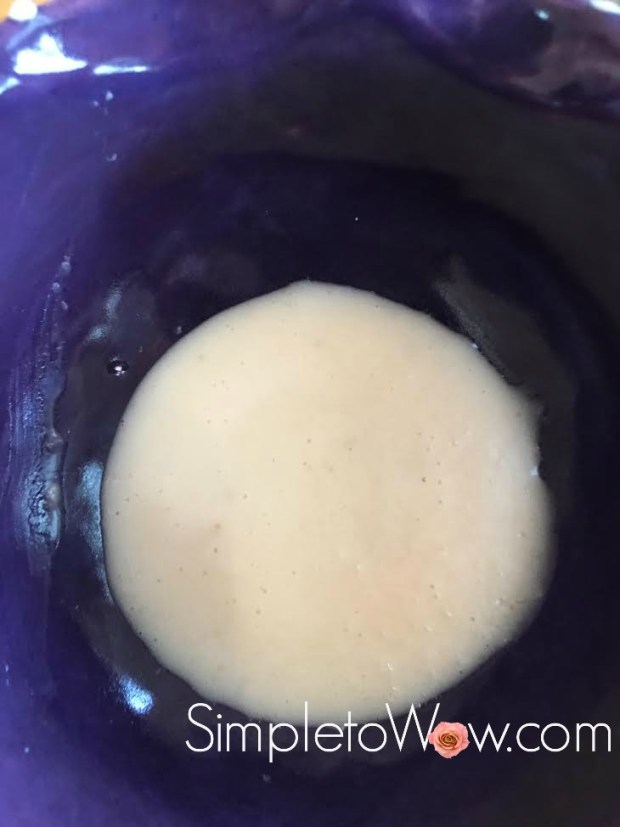
Place basil leaves in the food processor.  Using the s-blade, pulse until roughly ground.  Cut butter into small cubes and add to food processor.  Pulse until smooth and well-combined.

Alternatively,  chop basil.  Soften butter by using the time-defrost mode on the microwave.  Defrost in 30 second intervals until softened but not melted. Combine chopped basil and softened butter until well-combined

Place pesto butter onto parchment paper and roll.  Twist ends of parchment roll.  Refrigerate until firm.

basil butter log.png

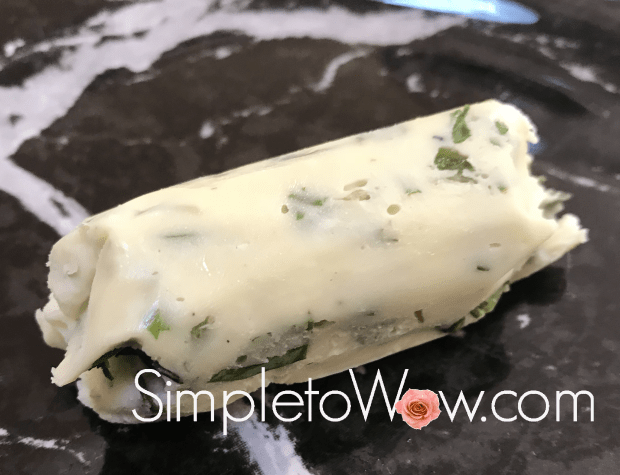
Cut into thin slices before serving.

basil butter log cut into pieces.jpg

KOSHER NOTES

Kosher laws disallow the eating of any whole insects and therefore herbs require a process of soaking, rinsing and in some cases, pureeing, unless purchased with a reputable kosher hashgacha (certification). Kashrut authorities differ on the proper checking of broccoli. This blog was not designed to be your kosher authority, so please consult your local rabbinic authority regarding using and preparing fresh herbs.

TIP

For an additional wow, place basil butter in individual molds or interesting ice cube trays.  Freeze until it is easy to pop out into individual decorative pats of butter.

basil butter flowers

Refrigerate or freeze leftovers and use as starter for dairy soups and omelets or as  a delicious accompaniment to roasted or steamed vegetables and fish.

Lemon Poppy Dressing

lemon poppy dressing

Salad dressings are basically comprised of the same three elements: oil, acid and flavor.  Some use olive oil for a distinctive oil taste.  Others use mayonnaise for  a creamy texture.  There are dressings that use citrus for its acid component and others that use wine or balsamic vinegar for its characteristic acidic kick.

This dressing adds another dimension to these elements that makes it delicious and oh, so memorable.  Poppy seeds add color to this dressing, but more importantly, they add a pop-in-your-mouth texture that is unforgettable.

I prepared this lemon poppy dressing last week for the salad bar at our Purim seuda.  I have used it to add flavor and pizzazz to so much else since.  I have drizzled some on grilled chicken, salads and baked salmon.

It is simple.  It is delicious.  It is beautiful.  And, it is so versatile.

Enjoy!

SUPPLIES

Cuisinart food processor

set of 16 oz wide-mouth squirt bottles

INGREDIENTS

1/2 cup lemon juice or juice of 4 lemons
1 tablespoon mustard
1/2 teaspoon salt
2 tablespoons mayonaaise
1 tablespoon poppy seeds

1/2 cup oil

DIRECTIONS

Using an s-blade in the food processor, combine all ingredients, saving oil for last. With machine running, slowly drizzle in oil and process until combined and smooth. Carefully decant into squeeze bottle.


Please Note: This post contains affiliate links from Amazon, which means I earn a small commission if you click and make a purchase.

Pistachio Encrusted Cajun Tilapia

pistachio-encrusted tilapia-ready to cook

My two sisters-in-law, Yael and Chaya, share the same birthday.  Interestingly, it was the same birthday shared by my father-in-law a’H, too.  Last year, we went out for a woman’s-only dinner in celebration of the birthdays.   We enjoyed our time together so much that this year, in the ice and snow,  we once again trekked to a dairy restaurant in Brooklyn to celebrate the two birthdays.

My sisters-in-law ordered menu items that they knew and trusted: salmon, salad and Eggplant Parmesan.  Always looking for something new, I was entranced by the pistachio-encrusted salmon on the menu and was not disappointed when it was presented and devoured by me and my sisters-in-law.

So, I started thinking… Salmon is so flavorful and distinctive on its own.   Why don’t I try this encrusting technique on a blander fish like tilapia?  Tilapia is one of  those inexpensive fish ingredients that is always available at my local fish counter.  Its meaty flesh and mild taste make it suitable for kick-start cajun seasoning and nutty pistachio encrusting.

And so, for dinner the night after the birthday celebration, I prepared this dish.  And, both Don and Leah confirmed that it was blog-worthy.  Here it is!

INGREDIENTS
4 large tilapia filets
2 tablespoons Cajun seasoning
1 egg
1/2 cup chopped pistachios

oil or cooking spray

HONEY DIJON SAUCE (optional)
1/3 cup Dijon mustard
1 tablespoon wine vinegar
2 tablespoons oil
2 tablespoons honey

OPTIONAL SUPPLIES
food processor
pyrex pie plate

DIRECTIONS
Preheat oven to 400 degrees F.

Place cajun seasoning on a plate or pyrex pie plate.  Blend egg with fork in a separate plate or pyrex pie plate.   Place chopped pistachios on a third plate or pyrex pie plate.

pistachio-encrusted tilapia-prep plates

Lightly coat both sides of tilapia with Cajun seasoning and then dip into egg, coating both sides. Finally, coat each tilapia fillet with chopped pistachios.

Cover a baking sheet with foil or parchment paper.  If using foil, drizzle with a bit of oil or spray with cooking spray.  Place the encrusted tilapia fillets in a single layer, making sure not to crowd the dish.

pistachio-encrusted tilapia-ready to cook

Bake for 15-20 minutes or until the tilapia easily flakes with a fork.

In a food processor or with a whisk in a bowl, combine honey Dijon ingredients until smooth and creamy.

honey dijon sauce.jpg

Drizzle over fish before serving.

pistachio-encrusted tilapia-serving suggestion.jpg

Enjoy!

Please Note: This post contains affiliate links from Amazon, which means I earn a small commission if you click and make a purchase.

Simple Jalapeño  Dip

This dip recipe has become a family favorite.  I prepare it before Shabbos as  a delicious dip for challah.  I often serve it with salmon and grilled chicken, too.  Both my sons-in-law, Aaron and Scotty, look forward to this jalapeño  dip at our Shabbos table.  It is simple to prepare and lasts in the refrigerator for about 2 weeks.

Jalapeño peppers are a type of medium-hot chili pepper that originated in Mexico.   Its strong spicy flavor and thick dark green skin make them perfect for this dip, which boasts a lovely green color and spicy after-taste bite.  Fresh jalapeno peppers are a rich source of vitamins A and C.

For this recipe, I remove the seeds and veins of the jalapeño peppers.  While the veins and the seeds carry most of the hear, it is the oils in these peppers that can irritate your skin and eyes.

Take care when handling jalapeño peppers as the oils from these peppers can burn your skin, eyes, nose and mouth and make you cough.  You may want to wear latex gloves when working with these peppers. Nonetheless, when you are finished, always wash your hands well with soap and water.


SUPPLIES

melon baller
paring knife
food processor
wide-mouth squeeze bottles


INGREDIENTS
3/4 cup cup mayonnaise

1/4 cup olive oil
6-8 large jalapeño peppers, rinsed and seeded, ribs removed
1-2 tbsp lemon juice
1/2 teaspoon salt
pinch coarse black pepper

2 small cloves garlic or garlic powder to taste

pinch sugar or agave syrup (optional)


DIRECTIONS

Rinse and seed jalapeño peppers, making sure to remove all seeds and ribs.  Take care not to touch eyes, nose or mouth while working with jalapeño  peppers and wear gloves, if necessary, to protect hands.  You can use a paring knife or melon baller  to remove seeds and ribs.

Place everything in the food processor; pulse until smooth and enjoy!

Decant into wide-mouth squirt bottles.

Enjoy!


Please Note: This post contains affiliate links from Amazon, which means I earn a small commission if you click and make a purchase.

Red Grapefruit Vinaigrette

grapefruit-vinaigrette-in-squeeze-bottle

During the winter months, we reacquaint ourselves with quite a variety of citrus fruits. Our countertop fruit bowl this time of year is typically filled with clementines, navel oranges and grapefruits.  That ever-present fruit bowl has always been a visual cue to weary household members to indulge in a piece of fruit, rather than scavenge through that harder to locate snack cabinet.

It is not always a foolproof formula, but I do attribute my family’s fondness for fruit and vegetables to the always available and usually filled fruit bowl and vegetable bin. Counter fruit has really become eye candy and belly candy to us.

But, fruit doesn’t only need to be eaten fresh and whole.  It can also be enjoyed in many different ways. One of my favorite ways to enjoy fruit without cooking is to prepare vinaigrettes for salads and as dips to bread, fish and meat.

Just like the red grapefruit itself, this vinaigrette sports a lovely light pink color and a creamy balance of tart and sweet.  It is best prepared with fresh ingredients: one fresh pink grapefruit, a shallot and clove of garlic.  Just in case you don’t have those items on hand, I offer grapefruit juice, garlic and onion powder as substitutions.   Just remember, substitutions are fine, but never quite yield the original product.

This assertive vinaigrette is best served with blander foods items that are looking for some additional spontaneity and flavor.  It would be best served on salads, steamed vegetables and simply prepared fish, poultry and meat.

Enjoy!

grapefruit-vinaigrette-in-a-purple-bowl

INGREDIENTS

juice of one red grapefruit or 1/2 cup grapefruit juice
2 tablespoons lemon juice
1 garlic clove or 1 teaspoon garlic powder
1 shallot or 1 teaspoon onion powder
2 tablespoons honey or agave syrup
1 teaspoon salt
dash pepper
1 teaspoon dijon or whole grain mustard
1 cup oil

grapefruit-viniagrette-plating-idea

SUPPLIES

Cuisinart food processor

set of 16 oz wide-mouth squirt bottles


NOTES

Decant the dressing into an empty sport-top water bottle or wide-mouth squeeze bottle.

Add a unique label to this Red Grapefruit Vinaigrette. Using glue stick or clear packing tape, adhere a custom red-grapefruit-vinaigrette-label to an empty squeeze bottle. If you would like to print your own simpletowow  label, feel free print out this red-grapefruit-vinaigrette-label. The paper label also allows you to jot down the date when you prepared the dressing so that you can track the preparation date.

Enjoy!

Please Note: This post contains affiliate links from Amazon, which means I earn a small commission if you click and make a purchase.

Beet Horseradish Dipping Sauce

There is a local restaurant that serves a horseradish sauce with their burgers. The sauce is tantalizingly pink with just the right amount of assertive flavor and sweet bite.

I was determined to recreate this sauce. I tried designing this recipe several times until I got it just right.

I served this newly minted sauce one Shabbos. Some tried it with their challah, others with the fish appetizer and I loved it with the grilled chicken and London broil.   I returned the rest in the refrigerator to enjoy with left-overs.

And, enjoy it we did!

Our son-in-law, Scotty, was visiting that week and he really loved this sauce. He even asked me for the recipe. I told him that I would like to try preparing this recipe once more before putting it out on the blog.

I prepared it again for last Shabbos and it once again received rave reviews.

So, here’s to you, Scotty!

beet-horseradish-sauce

INGREDIENTS

1/2 cup of mayonnaise
1/4 cup beet horseradish
4 tablespoons lemon juice or juice of one lemon
2 cloves of garlic or 1 tablespoon granulated garlic
1/2 cup oil
squeeze of mustard
squeeze of agave syrup or honey (optional) (see notes)

DIRECTIONS

Using the s-blade in the food processor, combine all ingredients, saving oil for last. With machine running, slowly drizzle in oil and process until combined and smooth. Carefully decant into squeeze bottle.

NOTES

If you use a more savory beet horseradish (like the Gold’s brand), you may enjoy this sauce without adding honey or agave syrup. If you would like a sweeter sauce, use a beet horseradish with a higher sugar content or add honey or agave to this recipe.

Decant the dressing into an empty sport-top water bottle or wide-mouth squeeze bottle.

Add a unique label to this Beet Horseradish Dipping Sauce. Using glue stick or clear packing tape, adhere a custom beet-horseradish-sauce-dip-label to an empty squeeze bottle. If you would like to print your own simpletowow vinaigrette label, feel free print out this beet-horseradish-sauce-dip-label. The paper label also allows you to jot down the date when you prepared the dressing so that you can track the preparation date.

Enjoy!

Please Note:  This post contains affiliate links from Amazon, which means I earn a small commission if you click and make a purchase.

Simply Spicy Firecracker Salmon


Most of my salmon recipes use a teriyaki-type glaze and cook at a high temperature.

This one is quite different.

It starts with a spicy marinade and is cooked at 375 degrees F to get that perfectly soft flakiness and to set the spicy glaze.

I prepared this new recipe for dinner while my son-in-law, Scotty, was visiting and studying nearby.  He couldn’t help but comment on how delicious the salmon smelled as it was cooking.  The taste didn’t disappoint, either.

This recipe is appropriately named for the fiery color and flavor of this salmon.

Enjoy!


INGREDIENTS

salmon fillet
1-2 chopped green onions or chives

fiery marinade

firecracker-salmon

a small piece of minced fresh ginger or ginger powder
3 cloves garlic, minced or garlic powder
¼ cup olive oil
2 tablespoons soy sauce
2 tablespoons honey,  agave or maple syrup
1-2 tablespoons sriracha or hot sauce
1-2 tablespoons lemon or orange juice
1-2 tablespoons mustard
red pepper flakes to taste


DIRECTIONS

Whisk or shake marinade ingredients in a small container or jar.  Carefully pour or brush onto salmon. Sprinkle with onions or chives.

firecracker-salmon-before-cooking

Bake at 375 for 30-45 minutes, until fish flakes easily with fork.

firecracker-salmon-all-ready


Simple and Perfect Spicy Mayo

I love the spicy mayo that comes with sushi rolls.  It adds that delicious spicy flavor, smooth texture and appealing drizzle to sushi, sandwiches, fish, grilled chicken and meat. It is expensive to purchase ready-made and oh, so simple to prepare yourself.

I was determined to discover a recipe for spicy mayo.  It was simpler than I had ever imagined.  It has three simple ingredients and allows for adjusting the heat of the finished product by adding more or less of the sriracha or hot sauce.

It has become our favorite dip and I try to always have a squirt bottle filled with spicy mayo in the refrigerator.  It will become your favorite accompaniment to salmon, grilled chicken and sandwiches, too.

spicy mayo in food processor
(more…)

Simply the Best Caesar Dressing

Caesar dressing takes a simply leafy salad and creates a wow.  I have found that if I want to make sure that just about all my dinner guests eat the salad, all I have to do is prepare Caesar salad.  Men will eat Caesar salad.  Kids will eat Caesar salad.  Just about the finickiest eaters will dig in to the Caesar salad.

Because of the high fat content in this dressing, I usually skip the croutons, though they can be easily bought or prepared Simple and Delicious Croutons Fashioned from Leftover Bread or Challah and then added right before tossing. I make sure to just add the minimum amount of Caesar dressing.  Since it is creamy, it clings well to the leafy greens and a little bit of Caesar dressing really goes a long way.

This salad dressing is one of my “regulars”.  That is, it is one of the popular dressings that I prepare in advance and store in a squeeze bottle for use throughout the week for a large Shabbos salad, individual lunch salads or dinner salad . Since it is thick and very creamy, it is easiest to decant this dressing into a wide-mouth squeeze bottle (click to  order Amazon wide-mouth squeeze bottles).  Once in the squeeze bottle, I can just squirt the minimum amount of dressing needed for my salad.

This dressing is best served on greens and large-cut vegetables that have body and do not wilt easily.  Try it on Romaine Lettuce, Bok Choy, large-cut tomatoes, Pepper slices or fresh green beans.  Try topping your Caesar salad with grilled fish, chicken or steak.  For a diary alternative, top with sliced, cubed  or shredded cheese.

To update the Caesar salad for a dairy meal, I just chop or tear romaine lettuce and add the Caesar dressing.  After tossing and right before serving, I sprinkle some good quality grated Parmesan cheese over the salad. Voila!


INGREDIENTS

1/2 cup of mayonnaise
4 tablespoons lemon juice or juice of one lemon
2 tablespoons Worcestershire sauce (see kosher notes)
1 teaspoon salt
1 teaspoon coarsely ground pepper
4 cloves of garlic or 1 tablespoon granulated garlic
1/2 cup oil 
squeeze of mustard 

(more…)

Simple, Creamy and Perfect Homemade Balsamic Vinaigrette

Our favorite dressing is balsamic vinaigrette.  Nine out of ten times when ordering salad at a restaurant, we choose balsamic vinaigrette.  For the past many years, every time I made a balsamic vinegar-dressed salad, I would take out half the contents of my spice cabinet to dress the salad.

A few weeks ago, I took the plunge.  I purchased heavy-duty catering-style squeeze bottles from my local restaurant supply store and filled them with assorted dressings for a large dinner that I was hosting.  The squeeze bottles were very durable and  had wide mouths for easy decanting of the homemade dressings from the food processor.

Whatever dressing were left over from the party, we used for lunches and dinners over the next week.  The bit of dressing that was left over one week later became the basis for my grilled chicken marinade.  The spices were left in the cabinet throughout the week and that balsamic vinaigrette found many uses.  It was a true lesson in organization and efficiency.  I was hooked on preparing my dressings in advance.

Now, I prepare an assortment of dressings and dips before Shabbos.  I store them in these large squeeze bottles for dressing salads, garnishing appetizers and decorating serving platters.  I find that having the vinaigrette available and in easy-to-dispense containers  helps us use just exactly what we need for each salad.  It cuts down on waste and mess.

With all the choices of dressings and dips, our favorite is still balsamic vinaigrette.   It is simple and really adds that wow to most every salad.

RECIPE

1/3 cup of balsamic vinegar
2 teaspoons kosher salt
1 teaspoon coarsely ground pepper
3 cloves of garlic or one teaspoon granulated garlic
2 tablespoons mayonnaise
1/2 cup oil 
squeeze of mustard (optional)

(more…)

Simple and Delicious Low-Carb Basil Pesto


I love pesto served with chicken, fish or pasta.  This recipe is simple and beautifully fresh and green.  It can be prepared quickly and can really wake up grilled chicken, fish or boiled pasta.

It is important to make sure that the basil is dry before preparing the pesto, so that the pesto remain bright green.

It is simple.  It is delicious.  It really adds the wow to simple dishes.

 pesto sauce in purple container

(more…)