The Pesach (Passover) marathon has begun!
Now that Purim is behind us, the supermarkets have started to stock Kosher for Passover meats and ingredients. To add another element of excitement, right before Purim we were advised that a Nor’easter was due to hit the Northeast two days after Purim.
Most people ran out to stock up on food supplies, snow equipment and salt.
I stocked up on Kosher for Passover meat and staples, instead. After all, a Nor’easter would mean that I could cook all day in my pajamas with no deliveries, meetings or other responsibilities.
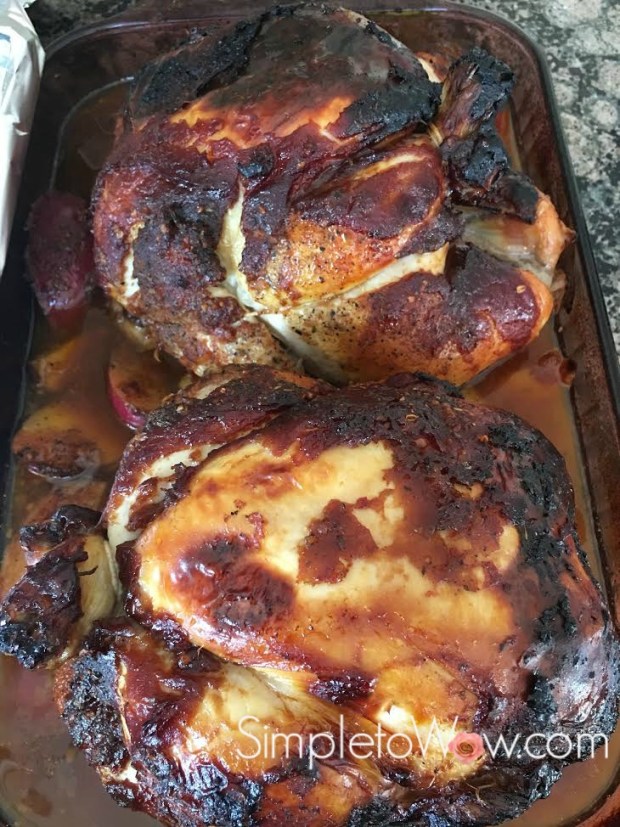
I cooked eleven large roasts, 48 stuffed cabbage, 16 meat cupcakes and 80 baked meatballs. Best part was that I had the most beautiful backdrop of white snow to gaze at as I was cooking, slicing and packaging everything for the freezer.
And, I finished just in time to get the snowblower out of the garage to clear the 18 inches of snow that had fallen while I was cooking for Passover.
Sure hope that spring arrives soon!
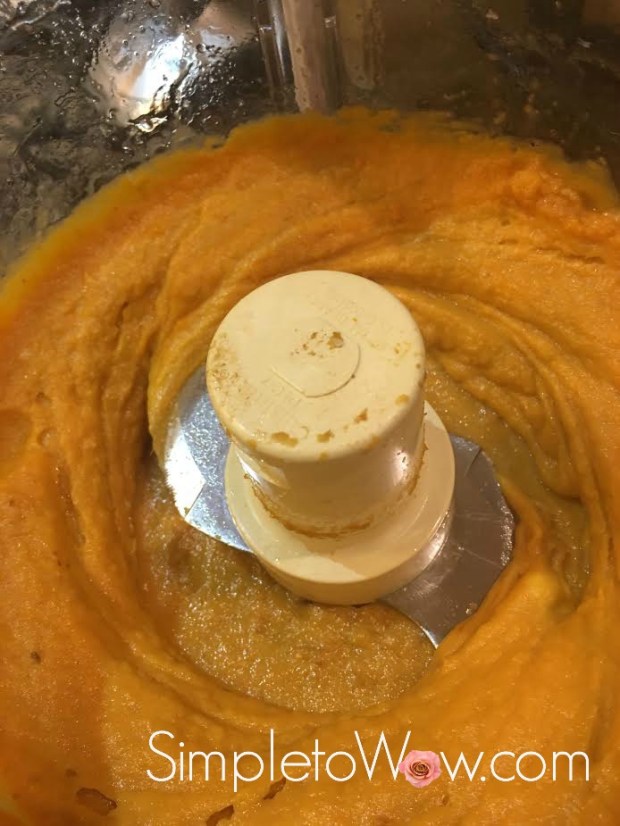
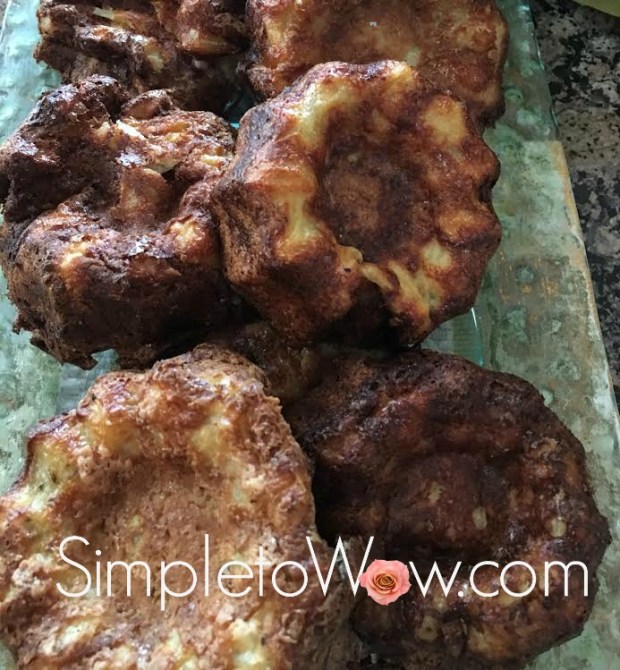
For this Pesach cooking marathon, I tripled this recipe. From this basic batch, I made Passover meat cupcakes and stuffed cabbage with only minor modifications. Stay tuned for these Passover recipes, too.
INGREDIENTS
2 pounds ground beef
2 eggs
1/2 cup potato starch
1/2 cup Passover crumbs
1-2 onions, grated or diced small
2-3 garlic cloves or 2 tablespoons minced or granulated garlic
1 small can of tomato sauce or paste
1 squirt of ketchup
DIRECTIONS
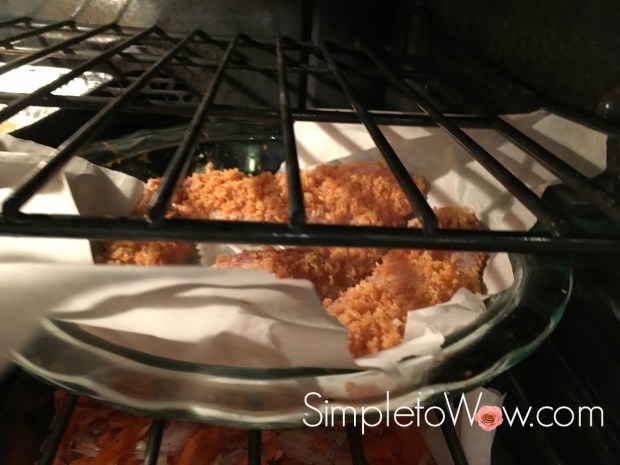
Preheat oven to 375 degrees F.
In large mixing bowl or extra large ziploc bag, combine all ingredients, kneading until just combined. Be careful not to overmix.
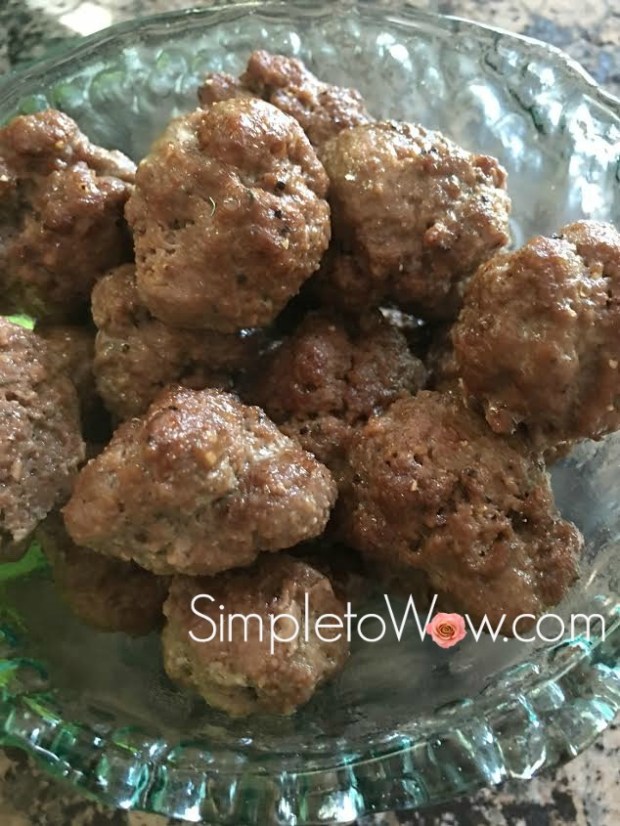
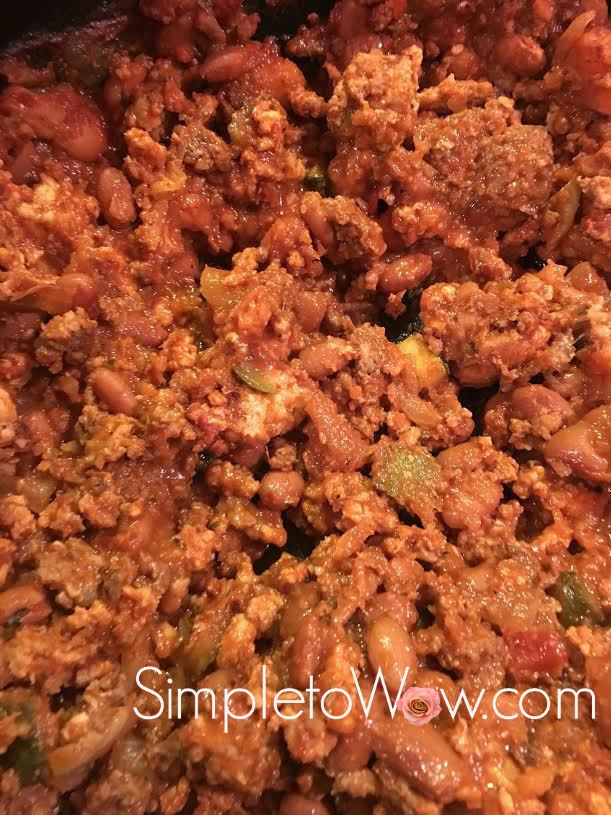
Form into meatballs about 1 inch in diameter and place on a baking sheet lined with foil or parchment paper. Bake for 25-30 minutes until meatballs are no longer pink in center. Skim meatballs off of the pan, leaving grease behind.
Cool and use with your favorite sauce recipe.
NOTES
You can use any combination of ground veal, ground lamb, ground chicken and/or ground turkey.
These meatballs freeze well. Just place in zipper freezer bags and freeze. Add sauce after removing from freezer. Bake frozen meatballs with sauce at 375 degrees F for at least 45 minutes.
TIPS
Double or triple the meatball batter and use to make meatloaf, stuffed cabbage and meat muffins.
Mixing the meatball batter by hand is best, but if you would rather not, use a jumbo zipper bag instead. Just place all ingredients inside bag and close zipper, releasing any air. Knead batter from the outside of the bag.
PASSOVER SERVING SUGGESTIONS
Serve over a bed of quinoa, prepared in rice cooker with salt pepper and garlic.
Serve over a bed of raw or quickly sauteed spiralized zucchini, turnips, kohlrabi or beets.
Serve over a bed of spaghetti squash “noodles”. Scrub and cut spaghetti squash in half. Place cut-side down on greased foil-lined pan or on parchment-lined pan. Bake at 400 degrees F for one hour. Carefully remove seeds and scrape out spaghetti squash noodles with a fork. Discard spaghetti squash skin.
Please Note: This post contains affiliate links from Amazon, which means I earn a small commission if you click and make a purchase.
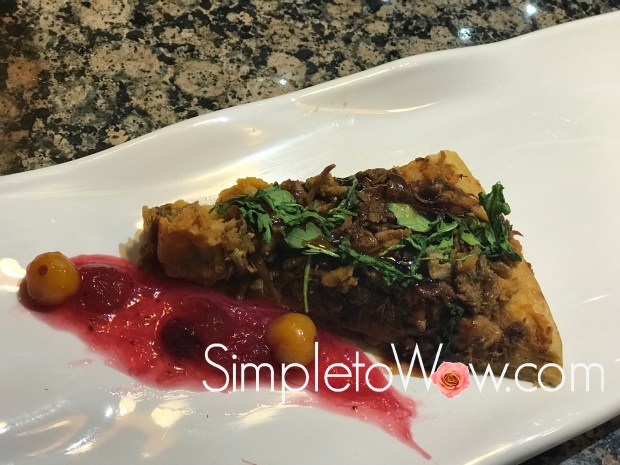


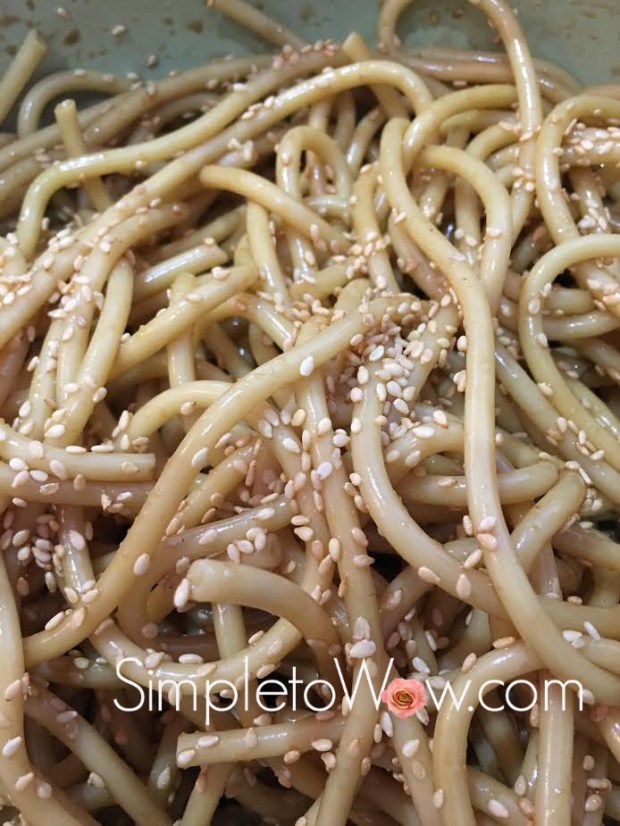 When looking for a pareve and delicious pasta dish, this is my go-to recipe. It started out as a Kosher by Design recipe and I have adapted and simplified it over the years. It is still a winner and the perfect pasta dish. To upgrade this dish in the simplest way, I use interesting pasta shapes like trumpet-shaped Gigli or hollow Bucatini strands.