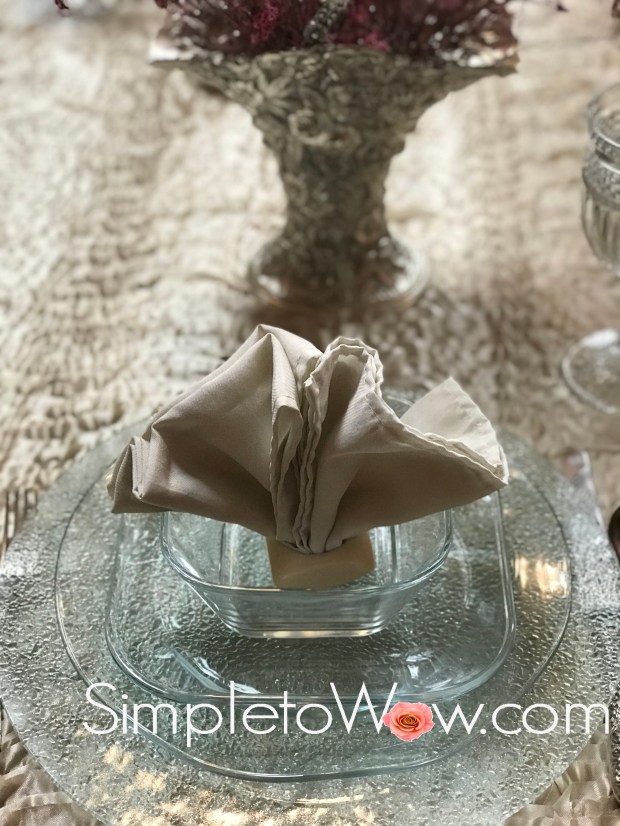
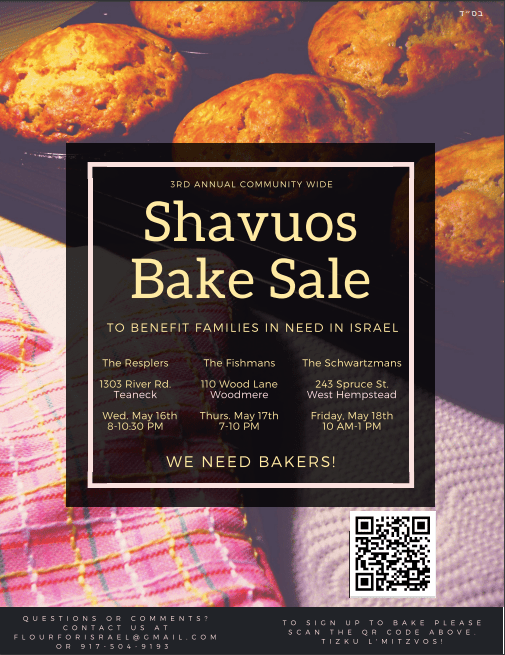
Tomorrow night, Davida will be hosting a Shavuos bake sale at our home from 8:00 PM to 10:30 PM. These Shavuos cupcakes will be offered for sale.

It comes just in time for the Jewish holiday of Shavuos, the holiday where we celebrate the giving of the Torah on Mount Sinai. There is a beautiful midrash (story-like commentary) explaining how G-d chose Har Sinai (Mount Sinai), the humblest mountain of all, to be the place where the Torah was received by the Jewish nation.
This past Shabbos, my grandchildren, Avigail and Yehuda, visited. On Shabbos, they sang this song that they both learned in their respective preschools. It is based upon this very Midrash. It explains in song how many mountains vied for the opportunity to be the venue for Matan Torah (the giving of the Torah). Each mountain highlighted its own virtue. Some were tall; others were strong or beautifully adorned. Har Sinai was chosen for it epitomized the lessons of humility and simplicity.
Here are the lyrics:
I am a mountain so very high
I can reach way up to the sky
The Torah should be given on me
For I am as tall as can be, you see
Oh No! I am much greater than you
There are so many things I can do
The Torah should be given on me
For I am as strong as can be, you see
But little Har Sinai just stood there and sighed,
“I know I’m not tall; I know I’m not wide
The Torah cannot be given on me
For I am as small as can be, you see
From all the mountains, Hashem chose Sinai
Because he did not hold himself high
He had such simple and humble ways
And from here we learn humility pays
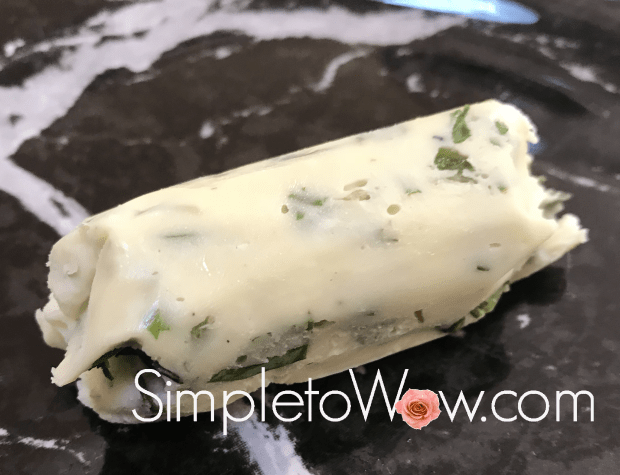
This song and midrash became the basis for these mountain cupcakes. I frosted a dozen green cupcakes using different techniques, sprinkles and embellishments. I chose the simplest cupcake to represent Har Sinai. In the center of that cupcake, I placed white chocolate luchos (tablets).
SUPPLIES
cupcakes
green frosting
shredded coconut
green food coloring
assorted sprinkles and edible pearls.
white chocolate
1 large zipper bag
1 small zipper bag
DIRECTIONS
Place 1 cup of shredded coconut in a zipper bag. Add a few drops of green food coloring and knead or shake until color is distributed throughout.
Frost seven cupcakes with green icing. Add green coconut, sprinkles and embellishments. Keep one cupcake simple.
Melt white chocolate by placing on a microwave-safe plate and using the timed-defrost feature for 5-9 minutes, checking every minute after 5 minutes.
Spread a piece of waxed or parchment paper and carefully fill a small zipper bag with the melted chocolate. Pipe out the shape of the luchos (tablets) and allow to harden.
Place the luchos in the center of the plainest cupcake.
TIPS
For a smooth frosting, microwave the green frosting on high for 10-30 seconds, checking after every ten seconds. When frosting is smooth and warm, pour over cupcakes. This will yield a shiny smooth frosted cupcake that can be easily dipped into sprinkles.