A few weeks ago, I invited our new neighbors over for Shabbos lunch. I was tired of my tried and true recipes so I decided to combine the ingredients and techniques from a couple of my favorite SimpletoWow recipes. I really wasn’t sure how it would work out.
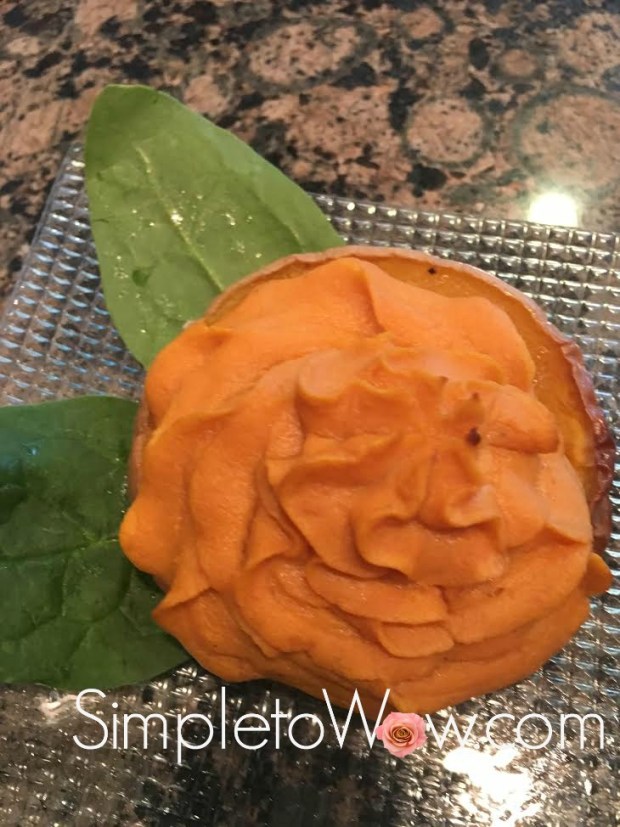
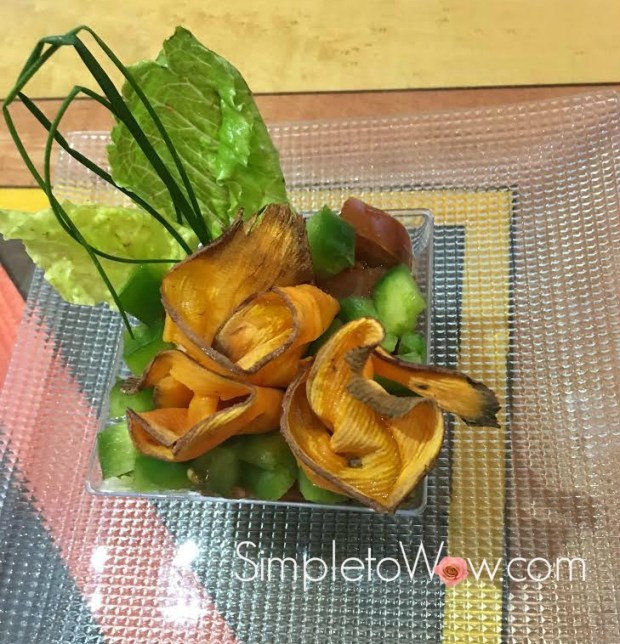
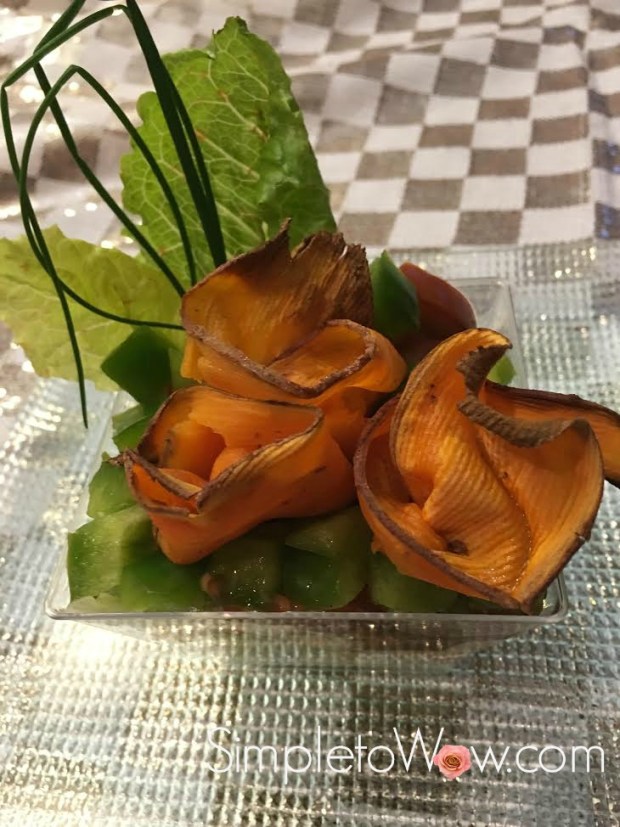
Luckily, the end-product was a most pleasant and stunning surprise. What I ended up with were the most beautiful, most delicious and colorful sweet potato-butternut squash marigolds.
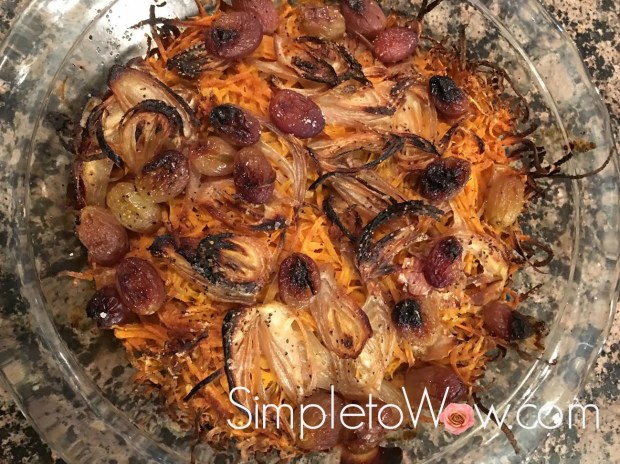
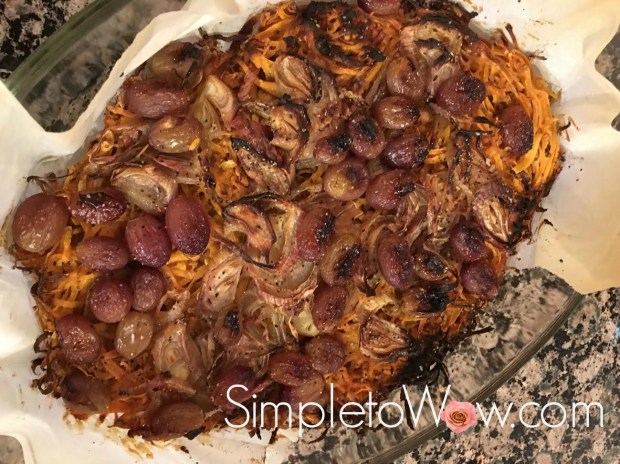
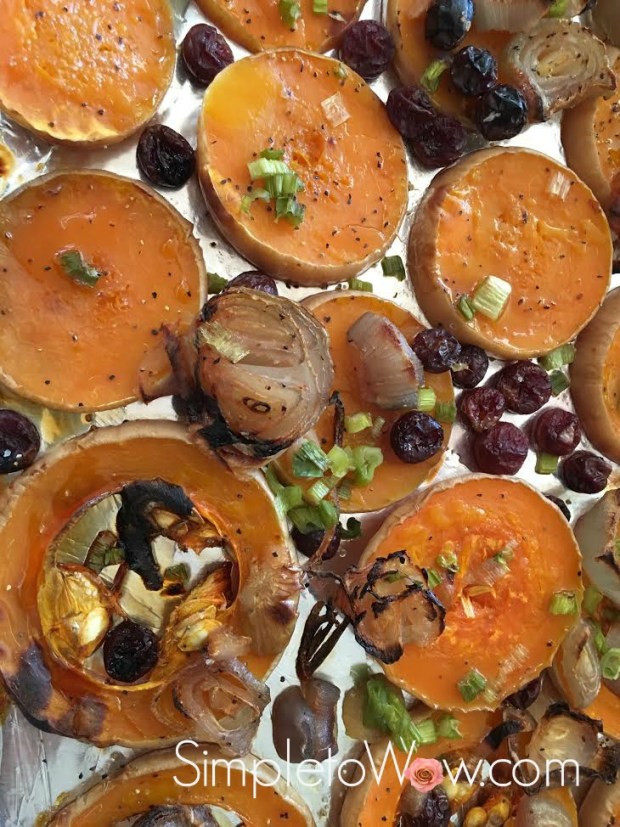
For the piped sweet potato marigolds, I used the Sweet Potato Cupcake Toppers recipe. I piped the sweet potato flowers atop slices of butternut squash prepared just as I did in Glazed Butternut Squash with Shallots and Grapes.
It was pretty simple.
It was a wow.
But, best of all, the marigolds really held up well and a few were even left over for Sunday left-overs. They kept their shape and were devoured by our resident vegetarians.
INGREDIENTS
1 large butternut squash
1-2 tablespoons oil
1-2 tablespoons honey or brown sugar
kosher salt
black pepper to taste
3-4 sweet potatoes
1 egg
2 tablespoons olive oil
1 tablespoon syrup, honey or sugar
dash of salt and pepper
SUPPLIES
Cuisinart Stainless 14 cup Food Processor
Wilton Large Piping Tip Set
Heavy Duty 16″ Disposable Piping Bags
Wood and Silicone Spatula
DIRECTIONS
Preheat oven to 425 degrees F.
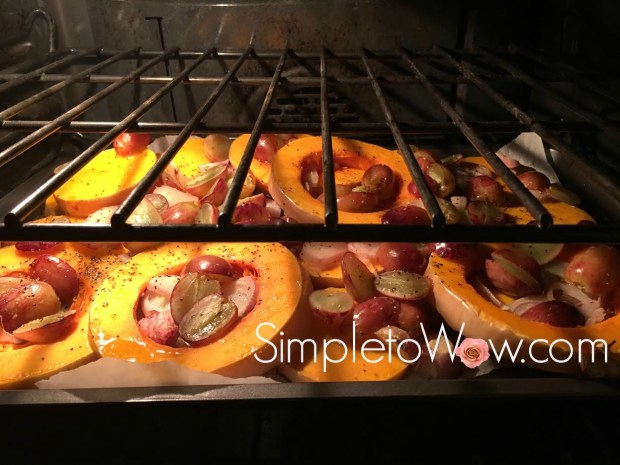
Scrub butternut squash. Using a large knife, cut unpeeled butternut squash crosswise into 1/3 inch to 1/2 inch disks. Remove seeds from rings at bottom of squash.
Line a baking sheet with parchment paper. Place butternut squash disks in a single layer on lined baking sheet.

Lightly drizzle oil and honey or sugar over butternut squash. Lightly sprinkle with salt and pepper.
Place small whole sweet potatoes on separate baking sheet or in pyrex baking dish.

Roast uncovered for 40-45 minutes. Butternut squash should be soft and just beginning to caramelize. Sweet potatoes should be soft with gap beginning to form between peel and pulp. If sweet potatoes are not soft enough to peel, cook for 10-15 more minutes.
Allow squash and sweet potatoes to cool. Leave the squash slices intact and carefully peel away the sweet potato skins and discard.
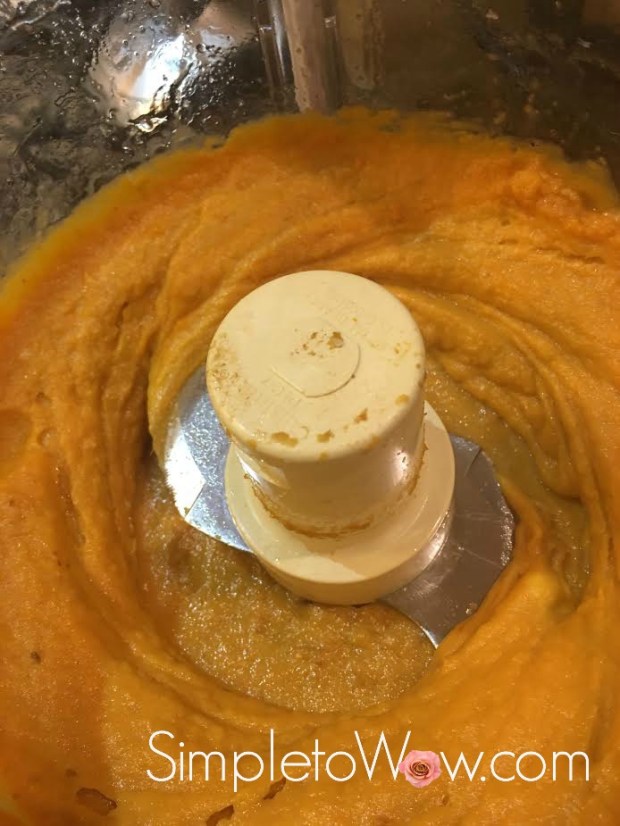
Using the s-blade in the food processor, pulse sweet potato pulp, egg, olive oil, sugar or honey and salt until puree is smooth and creamy.
Fill sweet potato puree into a large piping bag fitted with a star tip or into a zipper bag. To do this most easily and without making much of a mess, cuff bag over tall jar or glass. Use a stiff rubber spatula to load puree into piping bag or zipper bag.
If not using a tip, cut corner of bag. Squeeze air out of the top of the bag and twist top of bag shut. Push puree to tip or cut corner.
Pipe sweet potato puree onto butternut squash slices. Bake for 20-30 minutes at 400 degrees. Marigolds should be slightly firm and dry on top when ready.

Voila!
Please Note: This post contains affiliate links from Amazon, which means I earn a small commission if you click and make a purchase.